How to make your own Proxy server with TinyProxy
Posted on November 11, 2021

Learn how to use tinyproxy to deploy your own private proxy. Tinyproxy is an HTTP/HTTPS open source proxy service. Tinyproxy is lightweight, fast and very easy to configure, it's ideal to be used as a private proxy for basic web surfing.
For this tutorial we will use a VPS server with Ubuntu Server, all the steps are
similar with other Linux distributions.
Connect to your server through a ssh terminal and follow
these steps:
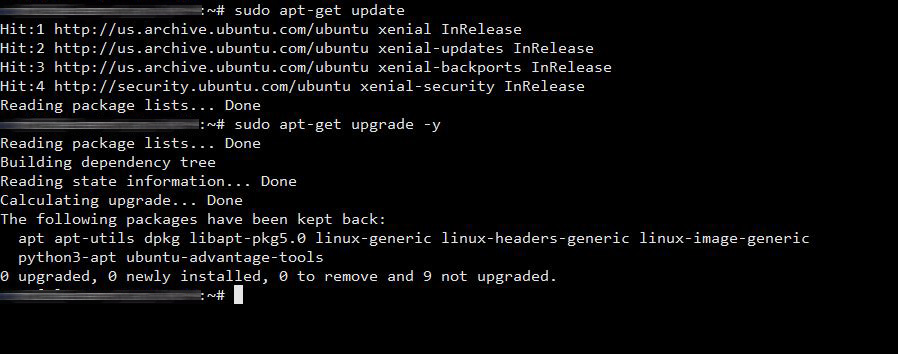
Update system packages by typing the following commands on the terminal.
sudo apt-get update && apt-get upgrade -y
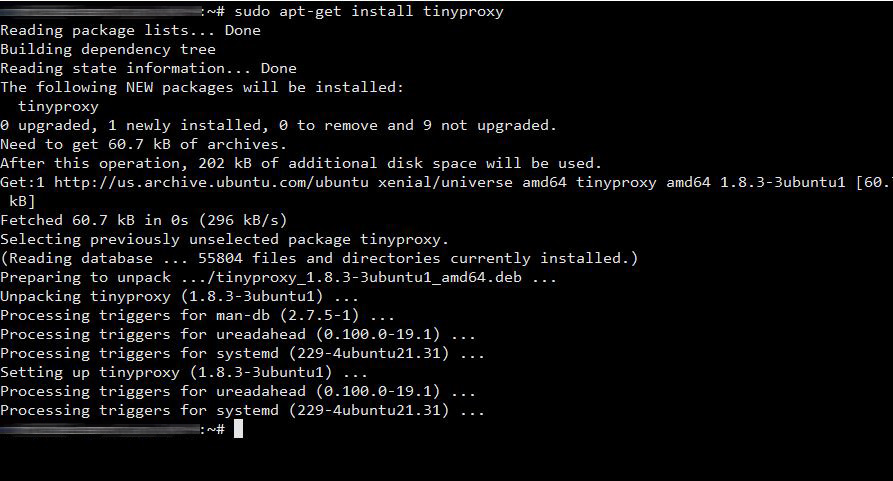
Install Tinyproxy using thee following command.
sudo apt-get install tinyproxy
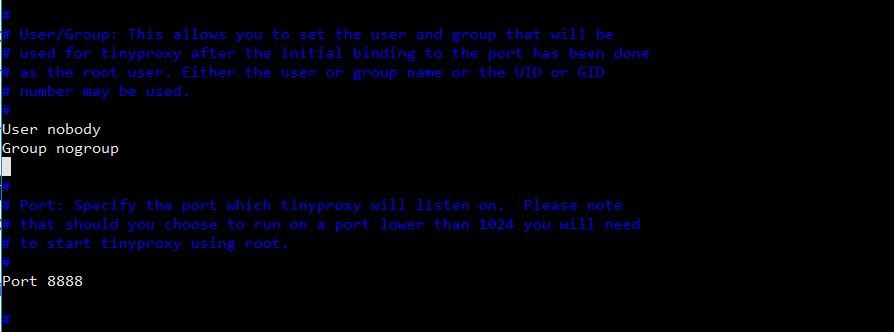
Once the tinyproxy installation completes we need to edit the confiration file located at /etc/tinyproxy.conf

By default tinyproxy use the port 8888 but you can change it to whatever you want.
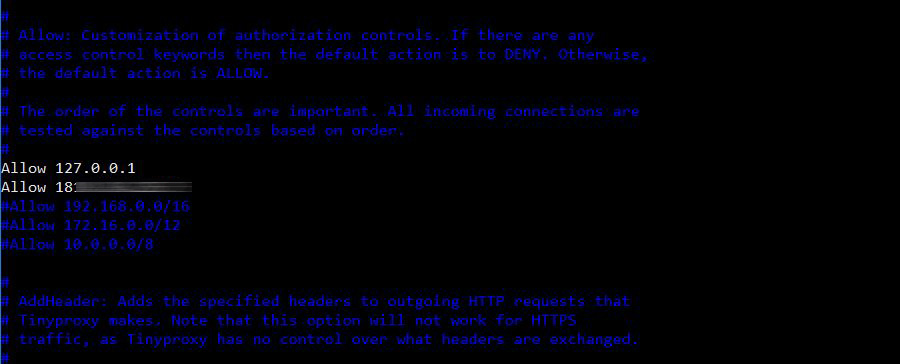
Find the line Allow 127.0.0.1 and add your IP address.
This option allows only you to use the proxy server and that others cannot connect to it.
If you don't know your IP address go to What is my IP to check.
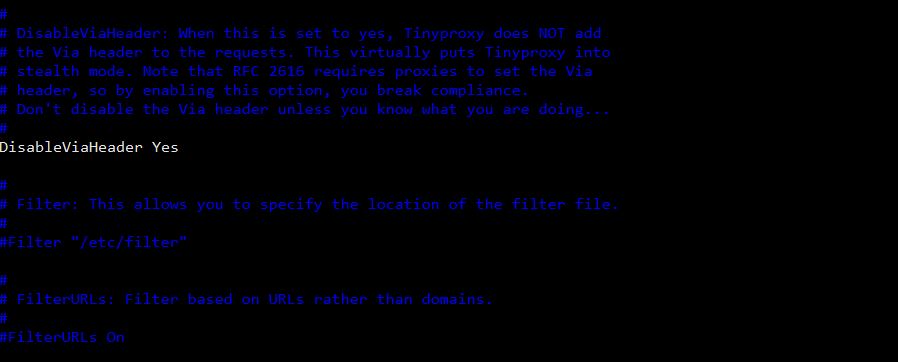
Find the line DisableViaHeader, uncomment, and edit it to Yes.
This option disable the proxy to send Headers that can reveal our real IP address.
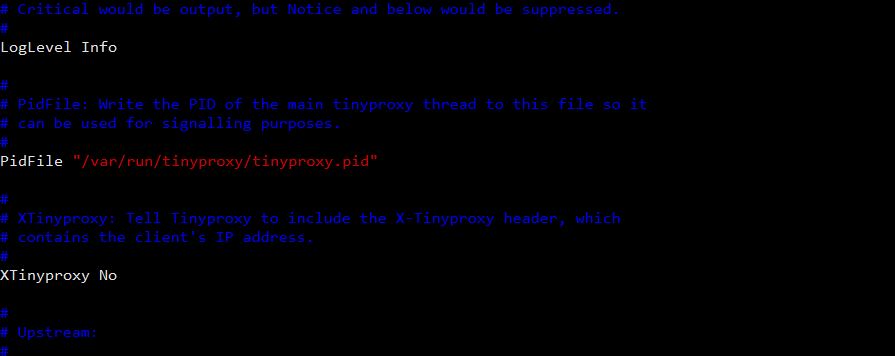
Find the line XTinyProxy and edit it to No.
This option disable the proxy to send Headers that can reveal we are using a proxy server.
Save the changes and start the tinyproxy service using the following command.
sudo service tinyproxy start

And it's ready, now you can use your private proxy with the IP of your server and the port you choose on the step 4.
If you have a firewall service like Iptables you may need to enable the port from the step 4.